index
Go Baby Go Cars With Joysticks
Links to instructions and software for Go Baby Go inspired ride on cars modified to have joystick control.

Instructions
aosom jeep:
https://www.instructables.com/GoBabyGo-Make-a-Joystick-controlled-Ride-on-Car/ (GoBabyGoCarsWithJoysticks & SERT FRC#2521)
firetruck:
https://drive.google.com/drive/folders/0B2HJnUrZAwYremFIYW55LVZ2TUU?resourcekey=0-zuVXEhaKQ2dVb-dyiEhITQ (GoBabyGoCarsWithJoysticks & SERT FRC#2521)
generalized circuit diagram:
https://docs.google.com/drawings/d/1BKDrhKLFc0Y3o9NzUfYC5lIbI_fWCTx9kLZsG5Ts-0o/view (GoBabyGoCarsWithJoysticks)
general instructions for using a GBG-PCB
https://gobabygocarswithjoysticks.github.io/gbg-pcb/instructions/instructions (GoBabyGoCarsWithJoysticks)
aosom jeep GBG-PCB edition
https://gobabygocarswithjoysticks.github.io/gbg-pcb/instructions/car-specific/aosom-038-jeep/instructions (GoBabyGoCarsWithJoysticks)
zupapa bumper car GBG-PCB edition
https://gobabygocarswithjoysticks.github.io/gbg-pcb/instructions/car-specific/zupapa-bumper-car/instructions (GoBabyGoCarsWithJoysticks)
Questions or comments?
Please post here or email us at gobabygocarswithjoysticks@gmail.com
Software
web programmer: https://gobabygocarswithjoysticks.github.io/programmer/
new car code (uploaded by web programmer): https://github.com/gobabygocarswithjoysticks/car-code
old code: https://github.com/gobabygocarswithjoysticks/classic
CAD
Joystick Balls (handle)
Onshape (make a copy of the model to make custom sizes!)
Joystick Holder
PVC Tees
Joystick holder for adjustible arms
Add a heatset insert to give this a threaded connection https://www.mcmaster.com/93365A160/
Connect this joystick holder to the end of an adjustible arm (like for photography or holding a machinist’s dial indicator)
This method of connecting a joystick works well for “bumper-car” style cars.
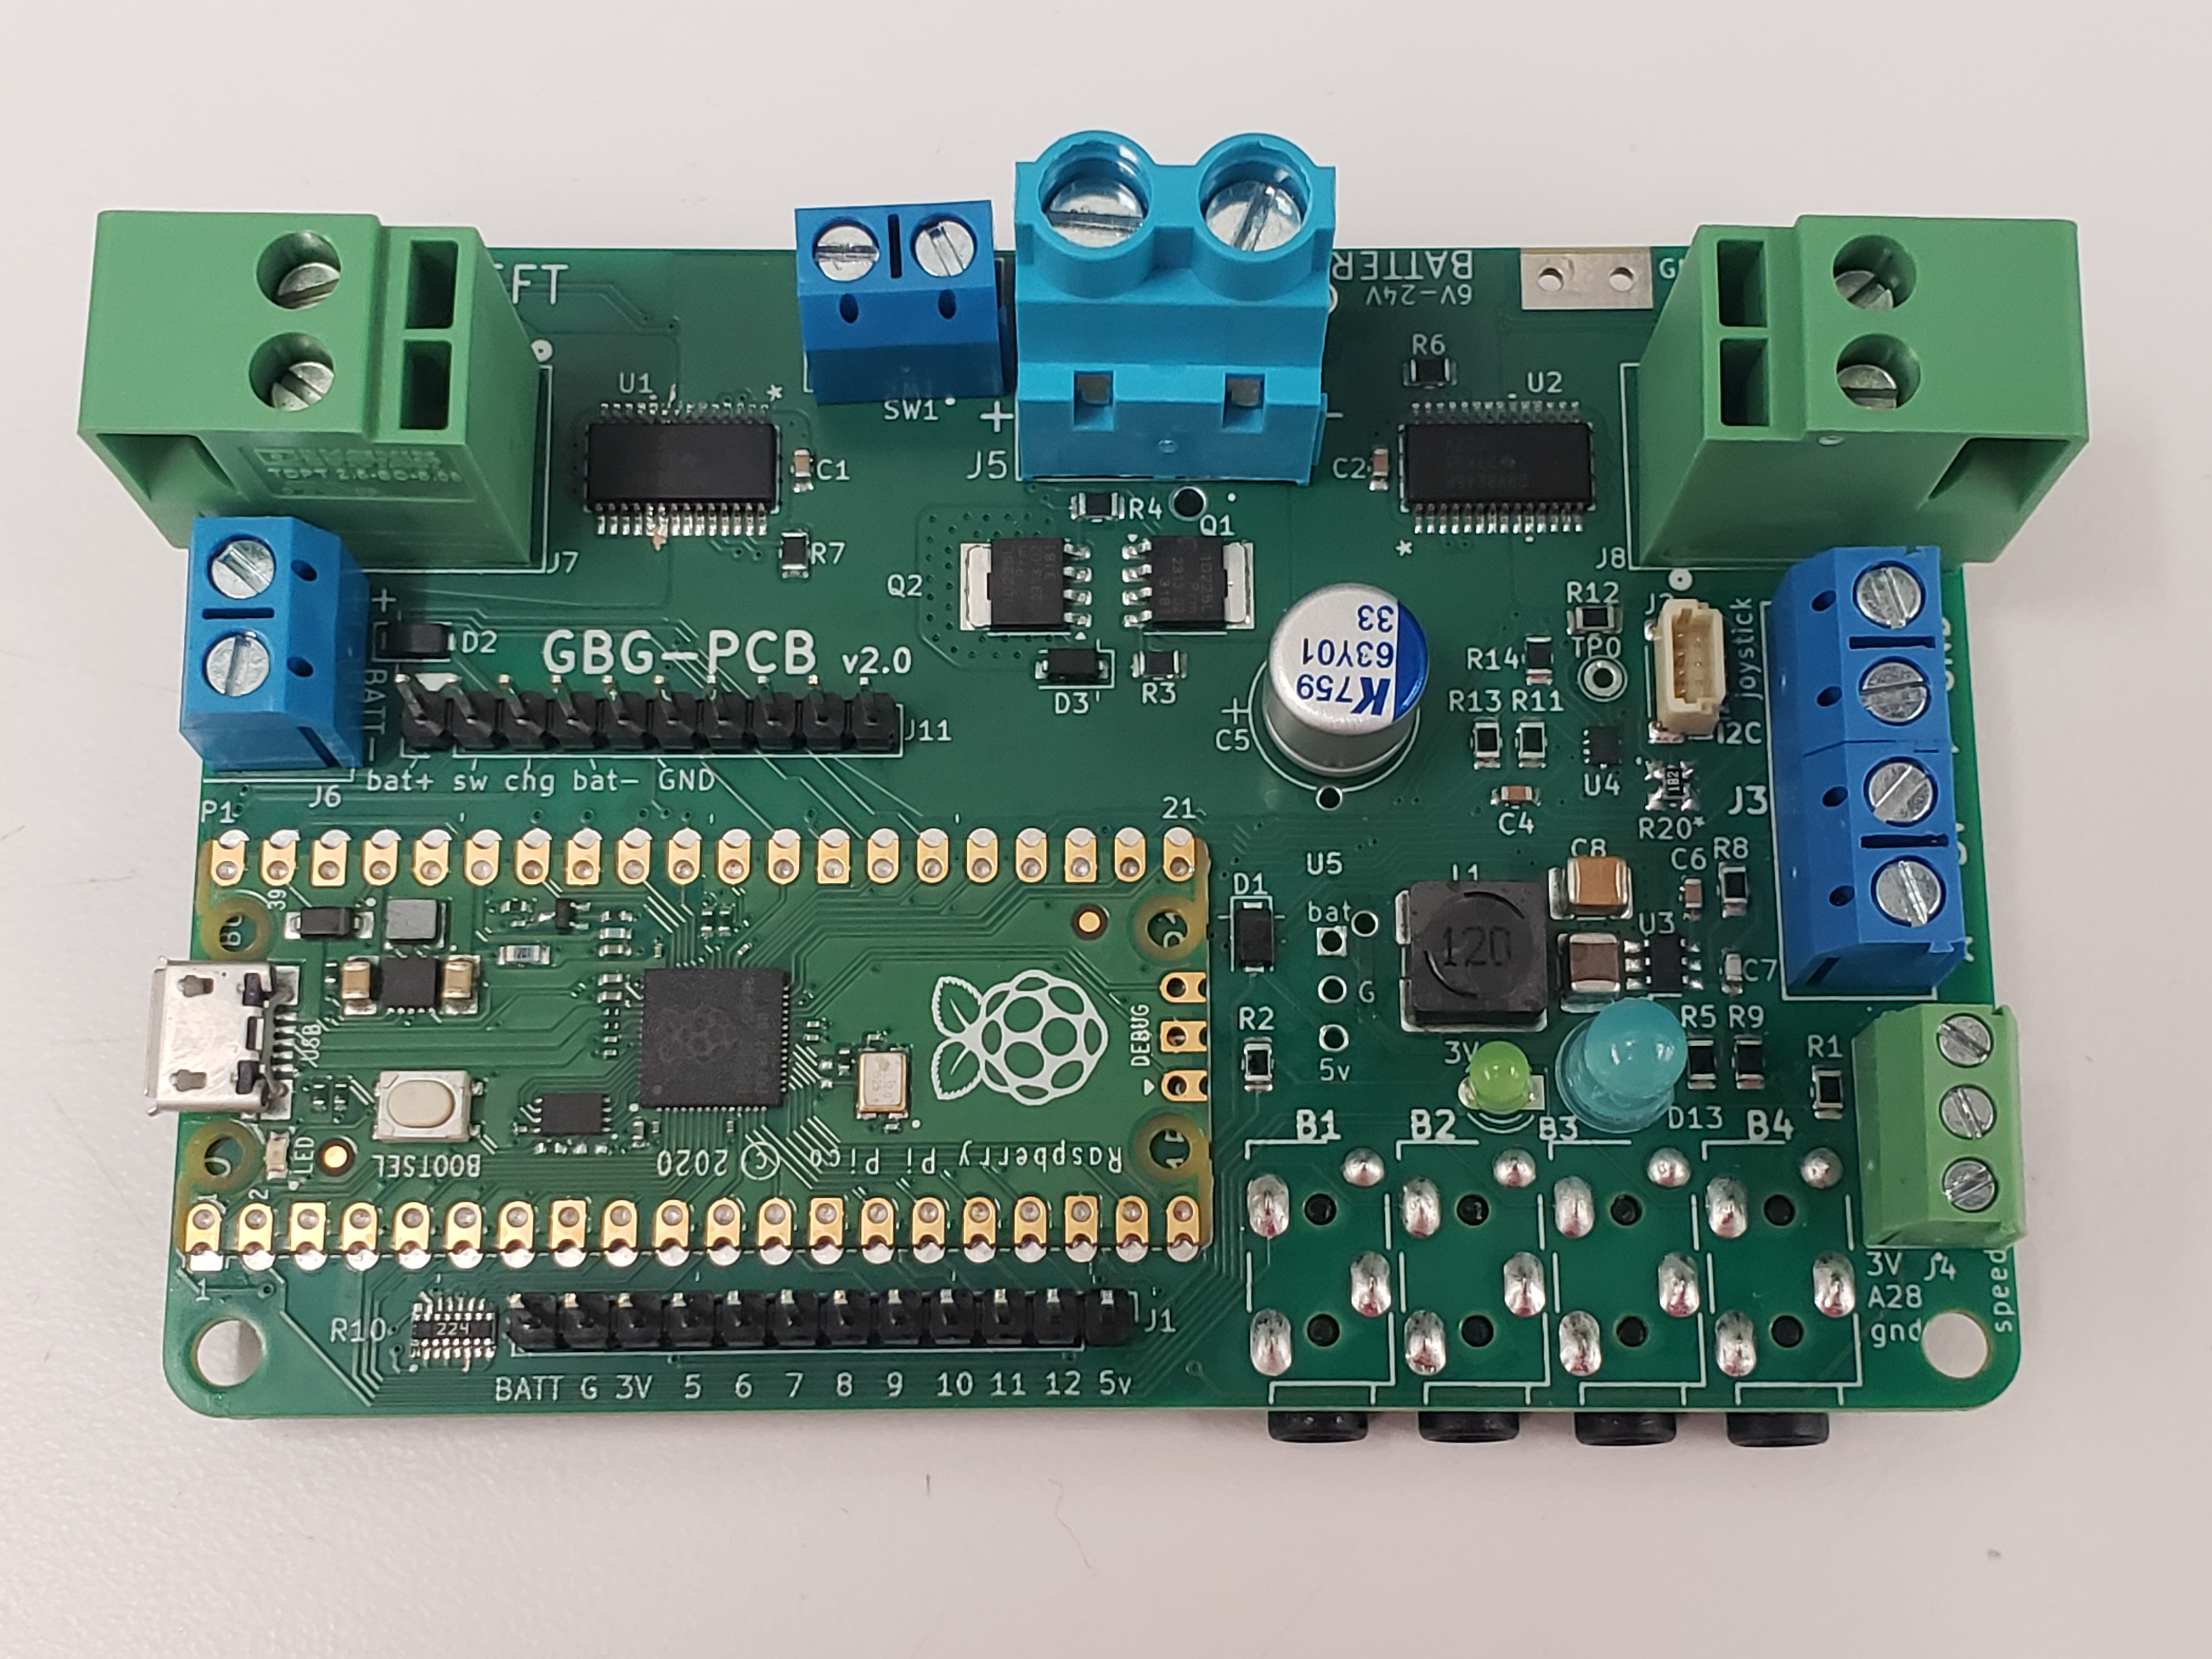
GBG-PCB
A circuit board for making joystick cars without any soldering
Instructions for making a GBG-PCB
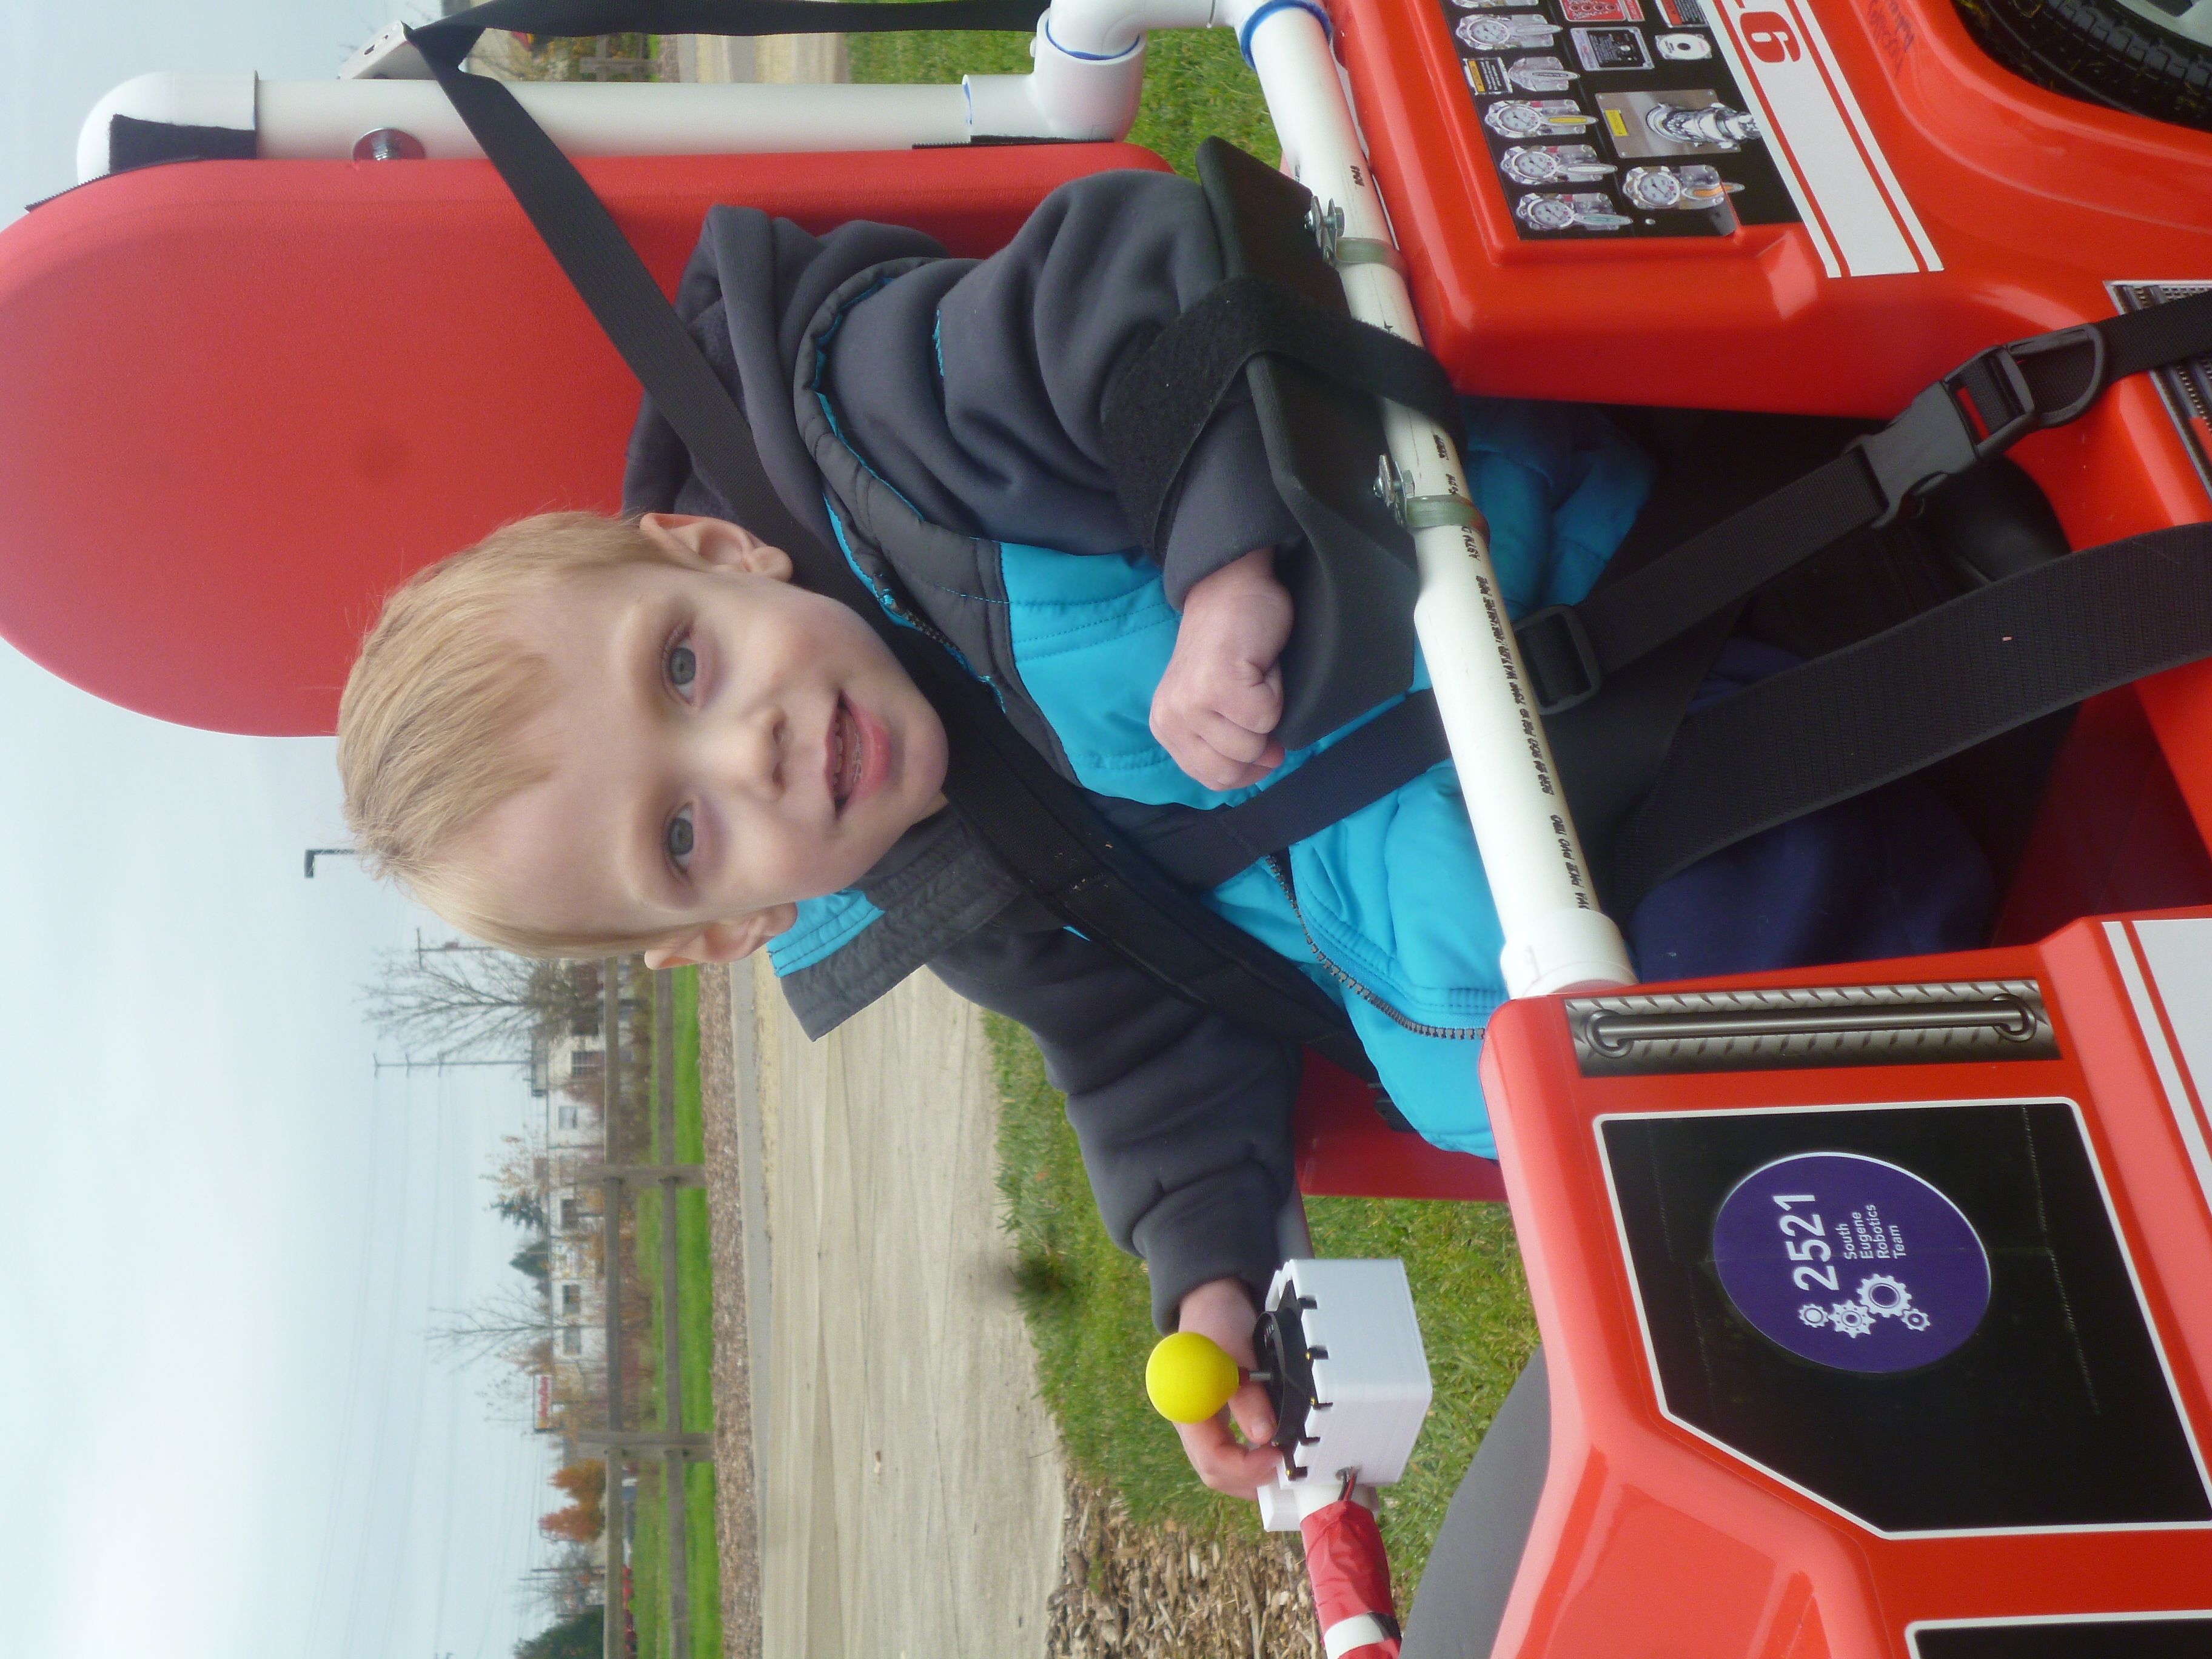
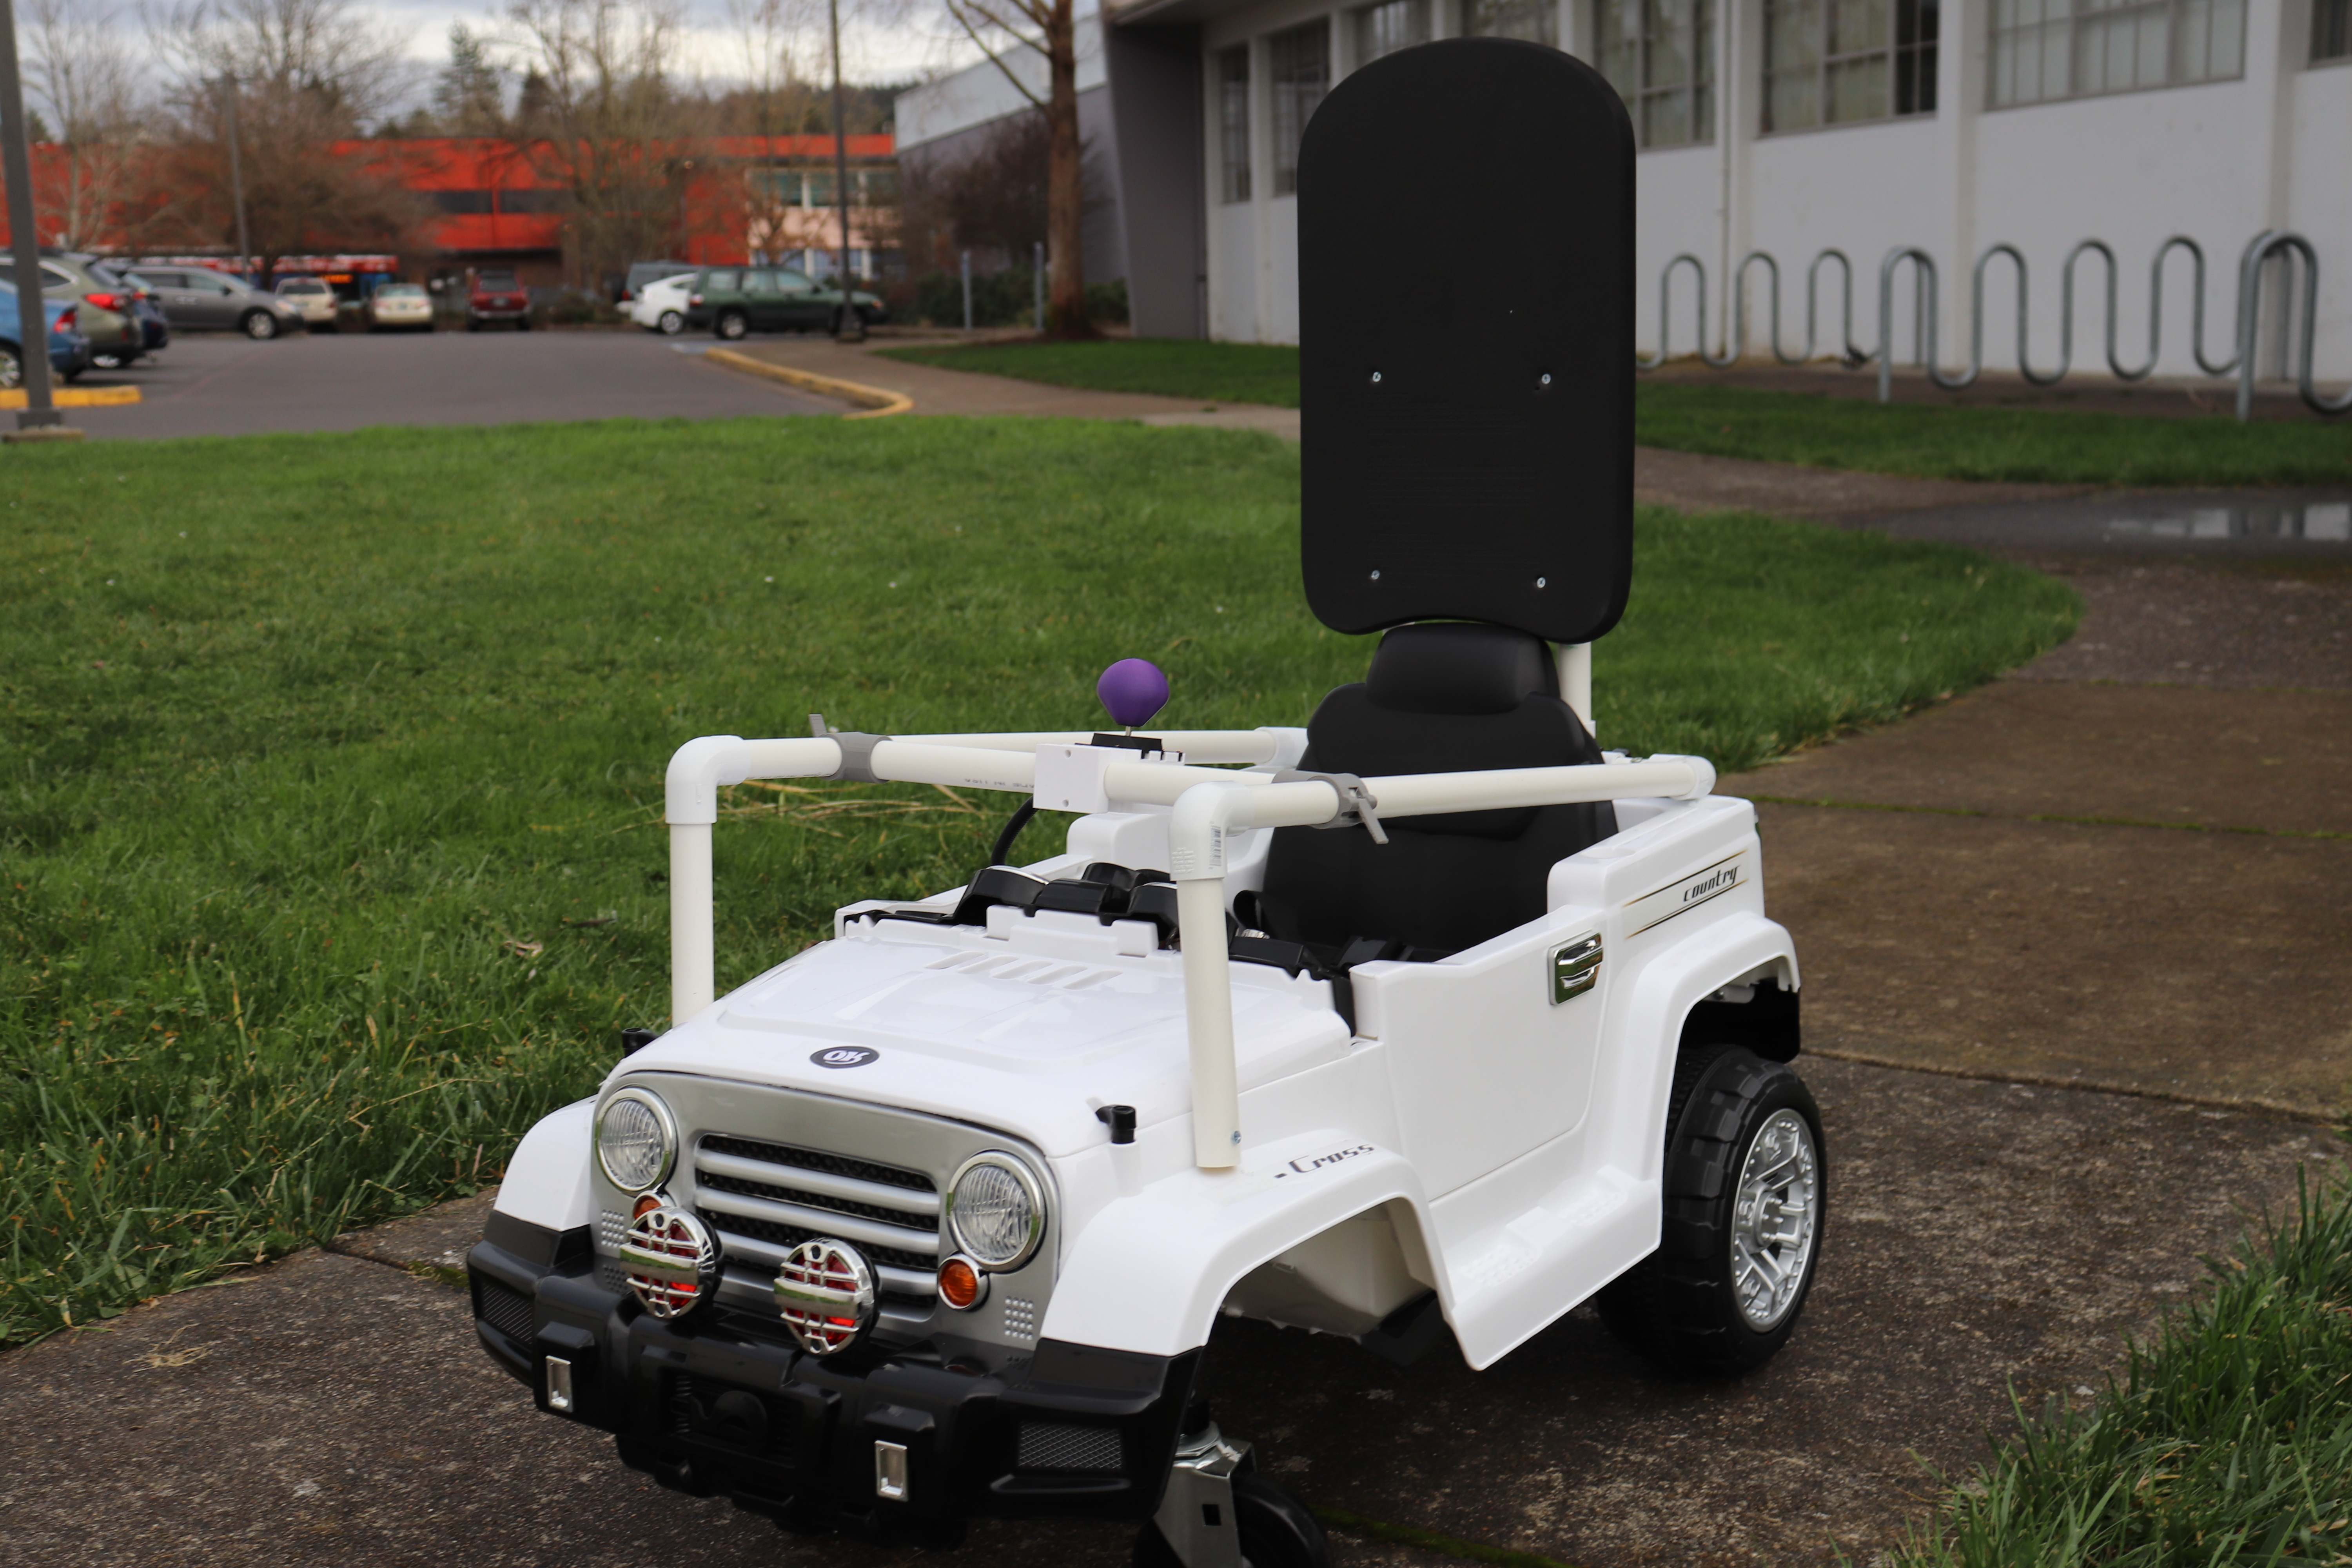
Photos
firetruck
jeep
This webpage is on github here: https://github.com/gobabygocarswithjoysticks/index